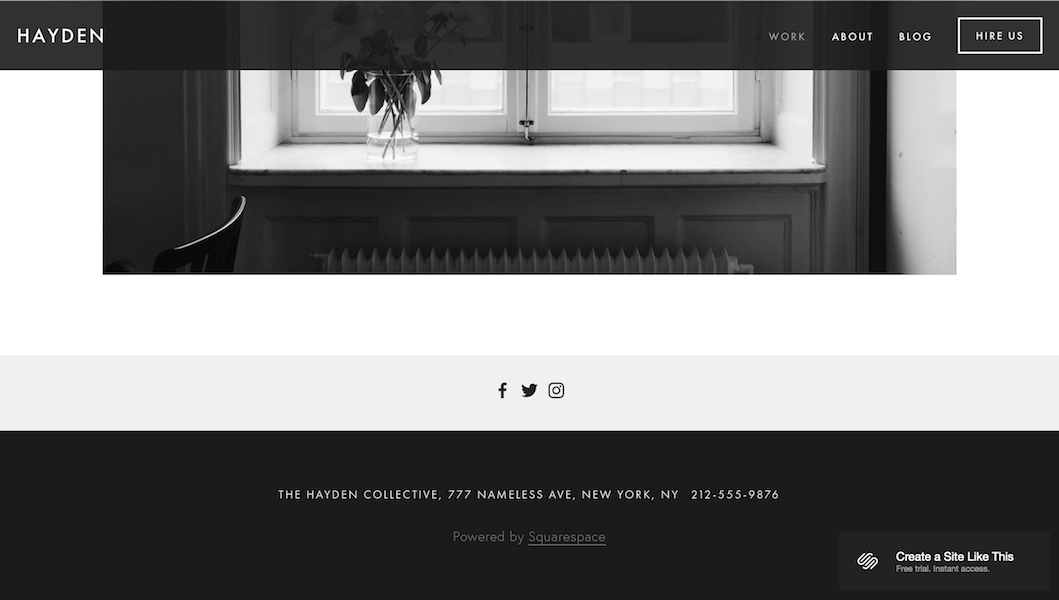
Staring at displays is easier on the eyes with apps like f.lux and iris, which apply color filters to our displays to reduce the amount of blue light our eyes consume.
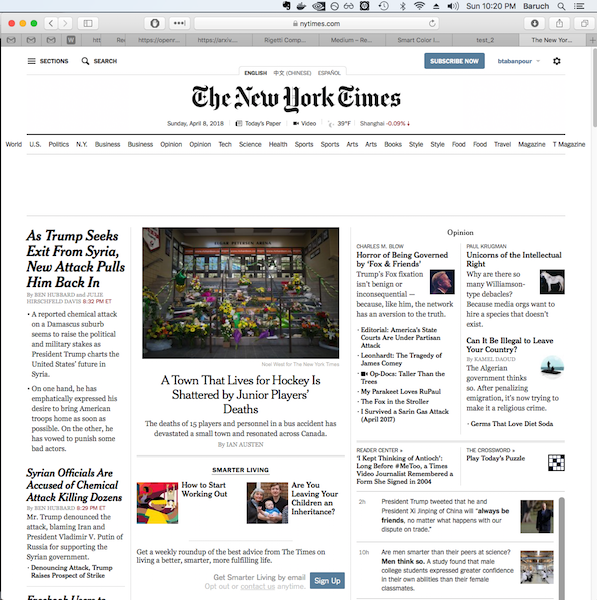
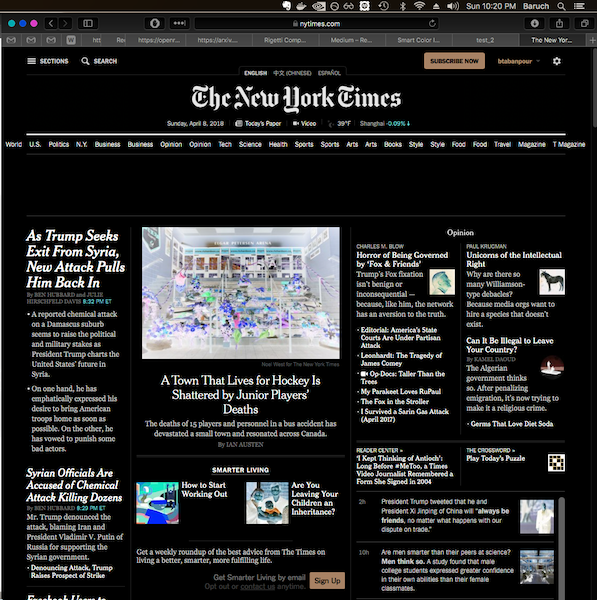
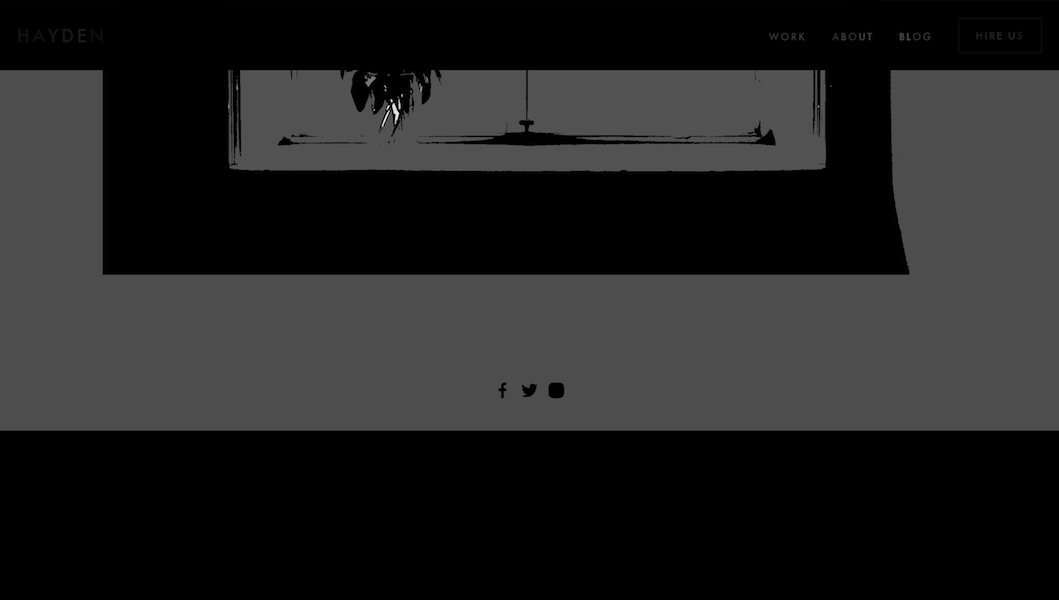
If your screen has mostly white colors and you use f.lux, the display is still sometimes too bright. This is why many apps also have color inverters, which flip the colors of all pixels on your display. The effect looks something like this:
 |
 |
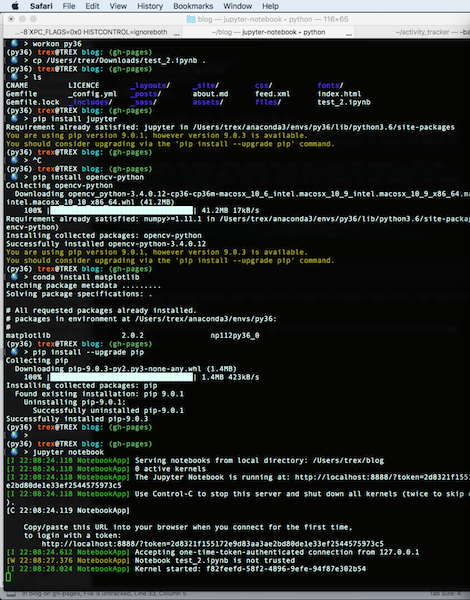
and the function applied is pretty simple:
from PIL import Image
import numpy as np

image = np.array(Image.open('./dark_screen.png', mode='r'))
color_inverted_image = 1 - image[:, :, :3] / 255.
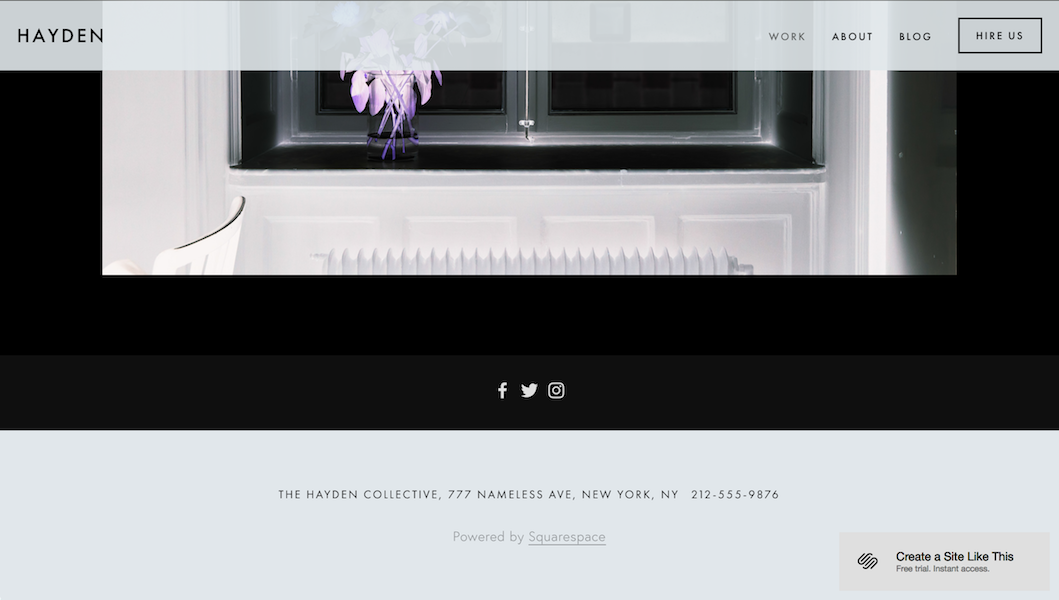
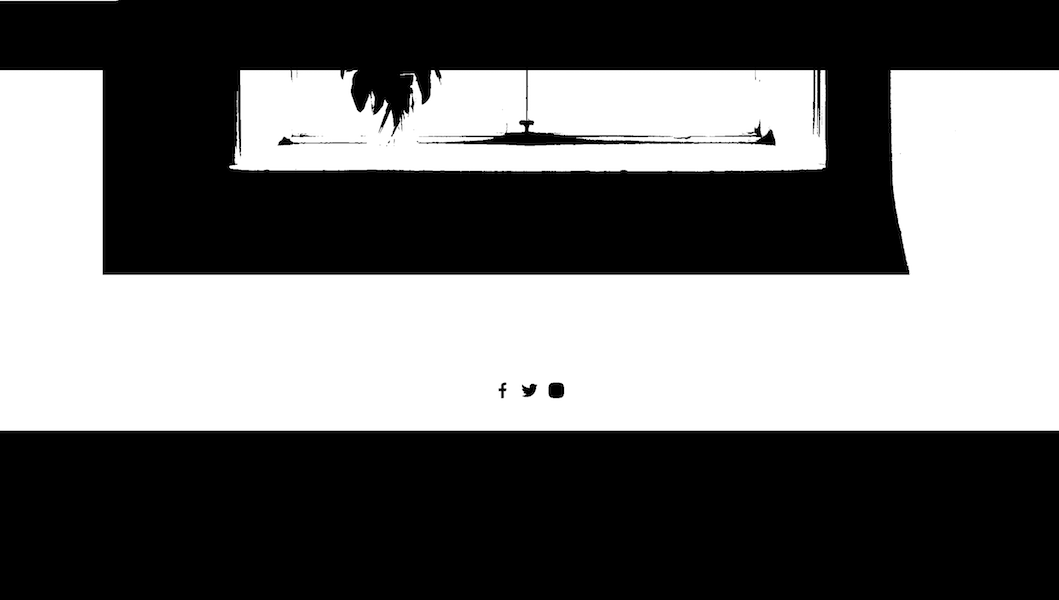
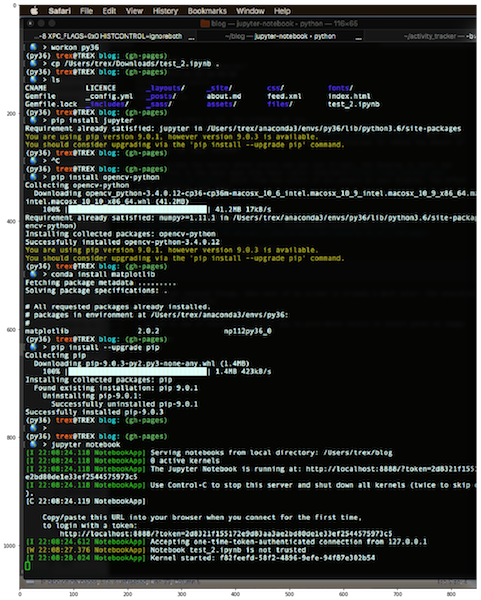
I always get really annoyed though, when most of my screen is already a dark color. The inverted colors then get all messed up:
 |
 |
I wanted to see if there was a smarter way to pick which colors to invert in an image.
Smart invert
To illustrate the basic idea of a smarter inversion algorithm, we’ll start with this image and its simple color inversion (which doesn’t look too good):
 |
 |
The basic idea of the algorithm is to find regions of the image to invert if they are bright, and regions of the image to keep the same if they are already dark.
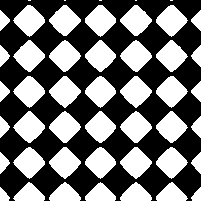
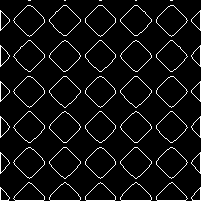
To do this, first convert the image to black and white, and then get all the connected components of the black and white image:
 |
 |
Then take the top 1% (or any other threshold) of the largest bright connected components. In this case, there are only 2:
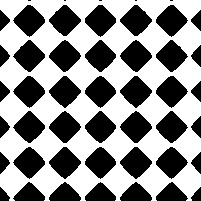
Finally, we invert the large white connected components only:
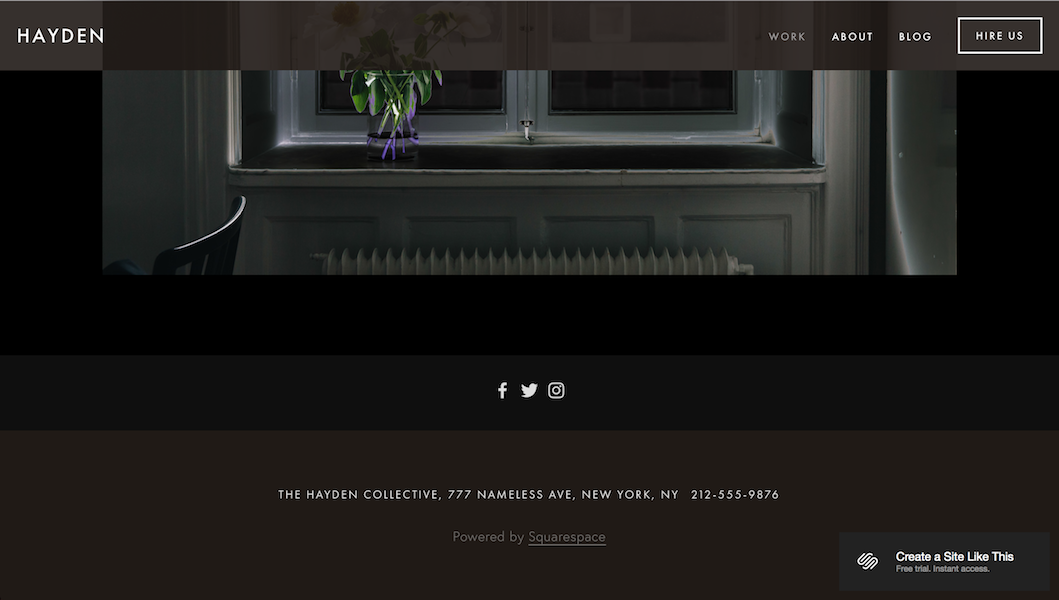
Notice that the white regions are now dark and all the dark regions remain the same since they’re already dark! The image in the middle also has inverted portions. If you want less regions to be dark, you can change the threshold to invert less of the bright connected components:
Notice that the image in the middle is now left untouched as well.
And finally let’s compare our original problem image using smart invert versus vanilla invert:
 |
|
Smart invert looks pretty good to me! Only the top application bar is inverted with the smart invert, whereas the simple inversion inverts everything.
Check out the code gist
Edge cases
There are some edges however. For example take the following image with it’s simple inversion and it’s smart inversion:
 |
 |
 |
Notice that the smart inversion makes the whole image black, which is not very helpful. This can be fixed by adding contours around the connected components like so, which keeps most of the image dark but still helps us distinguish what’s in the image:
Is it practical for real-time apps?
I’m not sure. The implementation I made runs anywhere from 100 to 300ms, which is far too slow for a 60fps display. The algorithm could potentially be sped up with simpler code that is also GPU optimized.
Poking around a bit to see how hard this would be, I couldn’t find connected components algorithms in Apple’s Image Unit Kernels. Applying the pixel inversions with Quartz and OpenCV might be just as inefficient as the plain python implementation (since I also use OpenCV). If you successfully implement this as a real-time mac app, please let me know! I will download.
For now I guess I’m stuck with simple color inversion to get my screen darker.